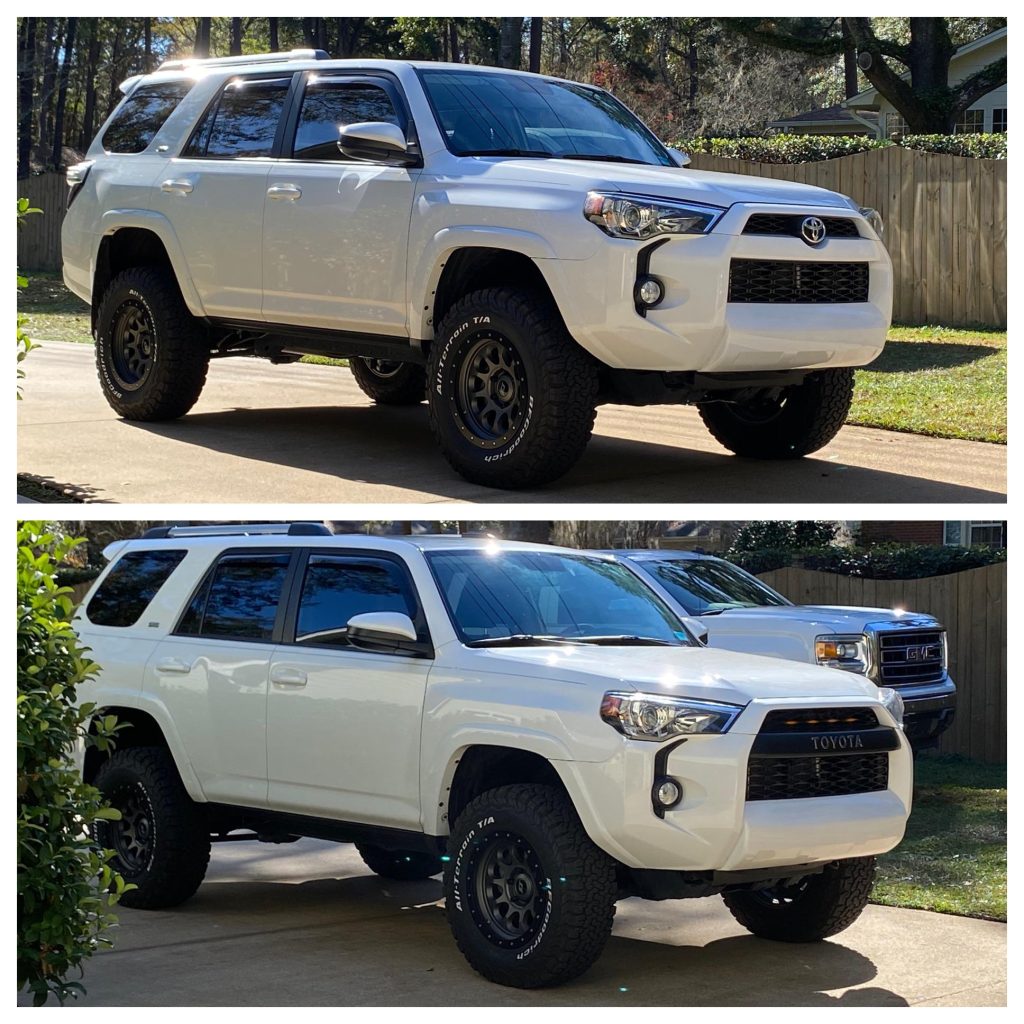
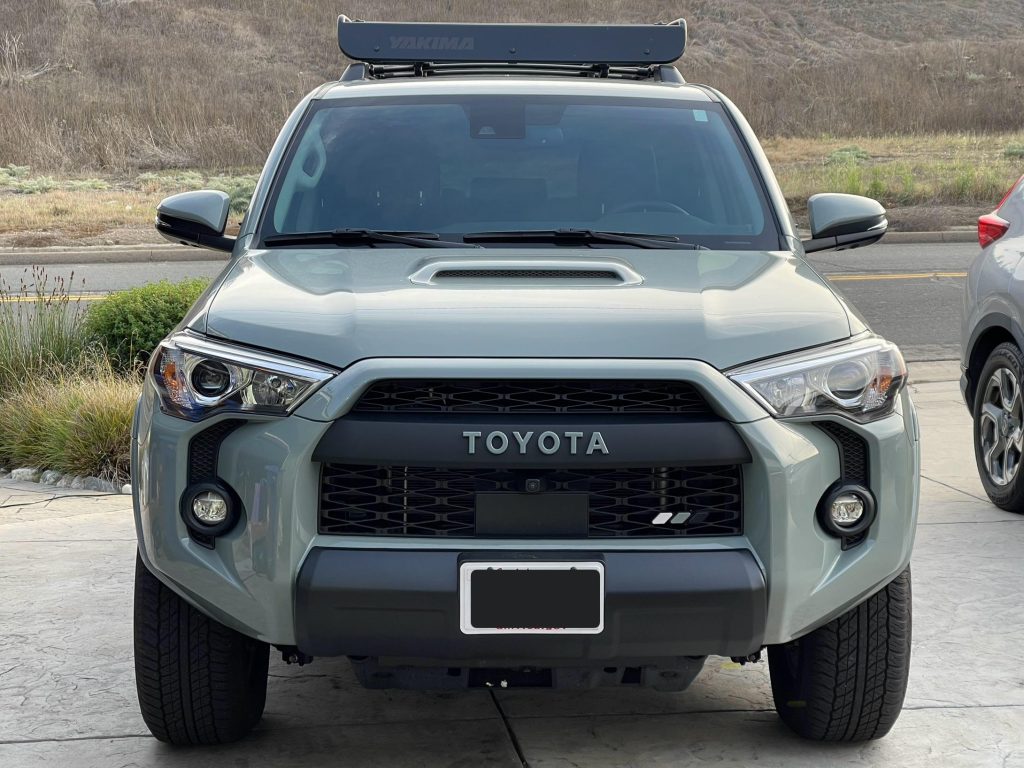
Upgrading your 5th Gen Toyota 4Runner with a TRD Pro Grille is one of the most affordable yet impactful mods you can make. This simple mod not only enhances the aggressive appearance of your 4Runner but also provides better airflow, which can aid in performance.
In this guide, we’ll walk you through the installation process with easy-to-follow steps, ensuring you can get that iconic TRD Pro look in no time.
Tools Required:
- 10mm socket wrench
- Trim removal tool or flathead screwdriver
- Phillips screwdriver
- Zip ties (optional for wire management)
Install Time: 30-60 minutes
Difficulty: Easy

Step 1: Remove the Factory Grille
- Open the Hood
Start by opening the hood of your 4Runner to access the grille mounting points. Locate the four 10mm bolts along the top of the grille and remove them using your socket wrench. - Remove the Plastic Clips
Use a trim removal tool or a flathead screwdriver to carefully pry off the plastic clips that hold the grille to the bumper. There should be several clips along the bottom edge of the grille. Make sure you don’t damage them, as you might reuse them later. - Detach the Hood Latch Cable (if applicable)
Some 4Runner models have a hood latch cable connected to the grille. If your vehicle is equipped with this, gently detach the cable before moving forward. - Pull the Grille Off
With all the bolts and clips removed, the grille should come loose. Gently pull it away from the vehicle. If it’s stuck, check to ensure all fasteners are fully removed.
Step 2: Prepare the New TRD Pro Grille
- Assemble the Grille
If your TRD Pro Grille arrived in multiple parts, assemble them now. Typically, this involves attaching the grille insert to the outer frame and securing it with the provided hardware. - Attach the Toyota Emblem
The Toyota emblem is what completes the signature TRD Pro look. Attach it to the center of the grille using the provided clips or screws, ensuring it’s firmly in place. - Optional: Install Raptor Lights
If you’ve opted to include raptor lights with your grille, now is the time to install them. Snap the lights into place and route the wiring through the grille. You can use zip ties to manage any excess wiring and keep it neat.
Step 3: Install the TRD Pro Grille
- Position the Grille
Line up the new TRD Pro Grille with the original mounting points on the front of your 4Runner. Ensure that the bottom of the grille fits snugly into the bumper. - Secure the Grille
Reinstall the four 10mm bolts you removed earlier to secure the top of the grille. Next, reinsert the plastic clips along the bottom edge to lock the grille into place. Tighten the bolts carefully, making sure not to overtighten and crack the plastic. - Reconnect the Hood Latch Cable
If your model had a hood latch cable attached to the grille, reconnect it now. Ensure that the latch is properly fastened to prevent any issues when closing the hood.
Step 4: Final Adjustments and Testing
- Verify Alignment
Take a step back and inspect the alignment of the grille. It should sit flush with the bumper and the front of the 4Runner. If it appears off, adjust it before fully tightening the bolts and clips. - Test Raptor Lights (if installed)
If you installed raptor lights, turn on your headlights to ensure they’re functioning correctly. Make any necessary adjustments to the wiring and secure any loose cables with zip ties. - Close the Hood
After verifying everything is in place and functioning as expected, close the hood and admire your new TRD Pro Grille upgrade.

Conclusion
Swapping out your stock grille for a TRD Pro Grille is an easy yet effective way to enhance the look of your 5th Gen Toyota 4Runner. Whether you’re hitting the trails or driving around town, this grille provides a tougher, more aggressive appearance that complements the 4Runner’s off-road capability.
Ready to transform your 4Runner with a TRD Pro Grille? Click here to find the best deals and take your 4Runner’s style to the next level.


